Admin Setup & Usage
Follow these steps to configure and utilize the Transfer.360 web portal for administration.
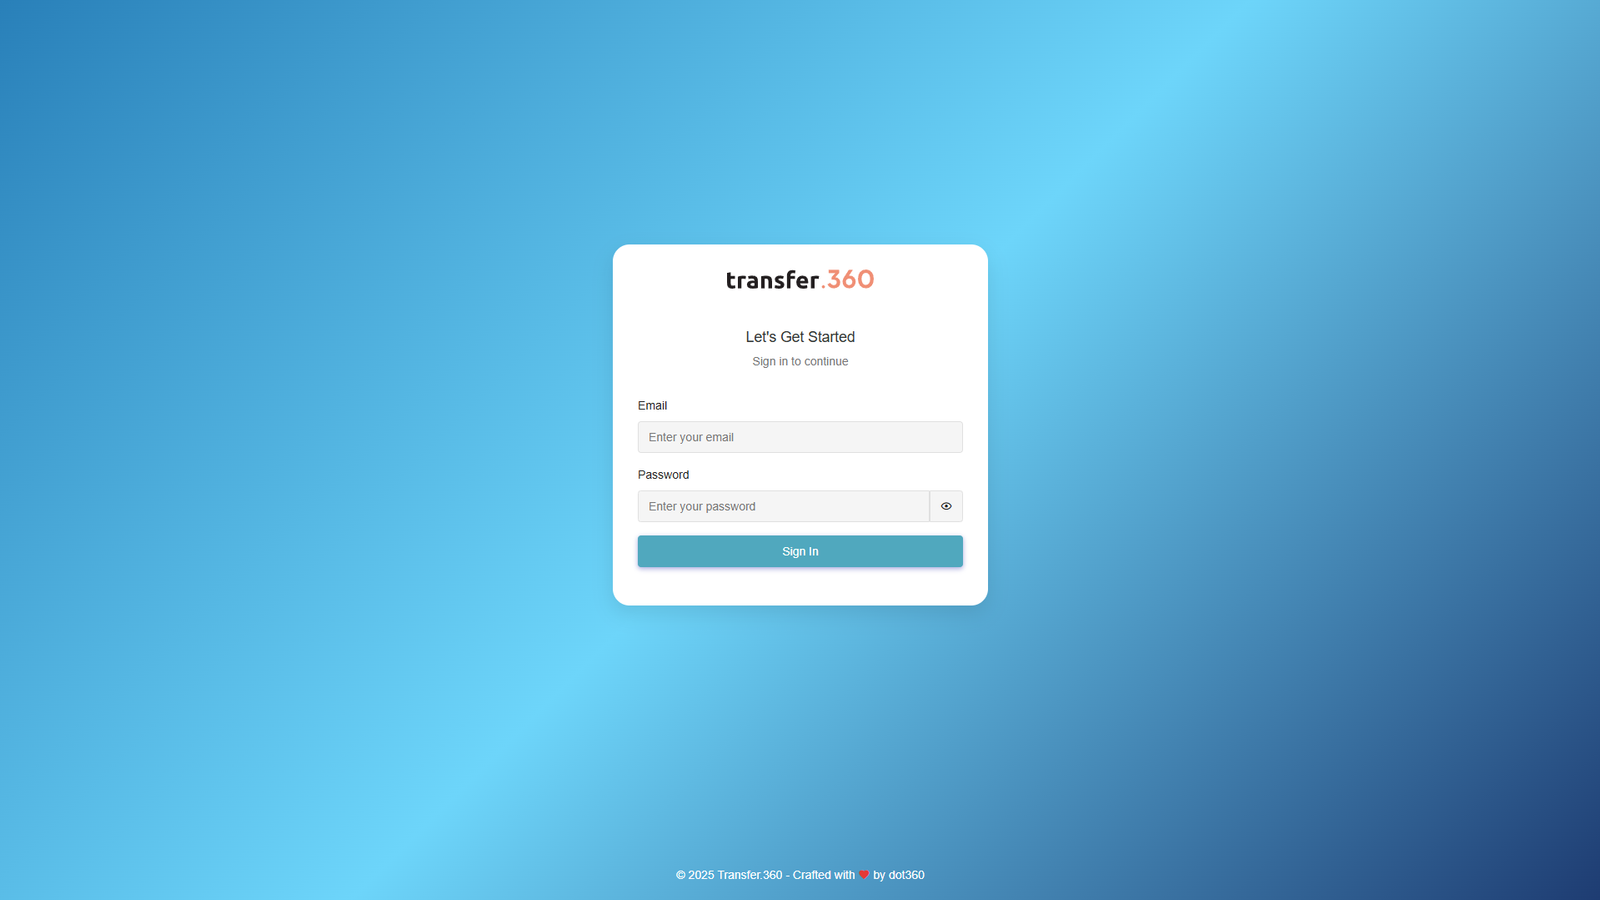
1. Login
Begin by navigating to the unique web application URL provided via email. Use your assigned administrator credentials (email and password) to access the portal.
2. Add Vehicles
Locate the 'Vehicles' section in the main menu. Add each vehicle in your fleet, providing necessary details like make, model, registration number, and passenger capacity. Accurate vehicle information is key for proper dispatching.

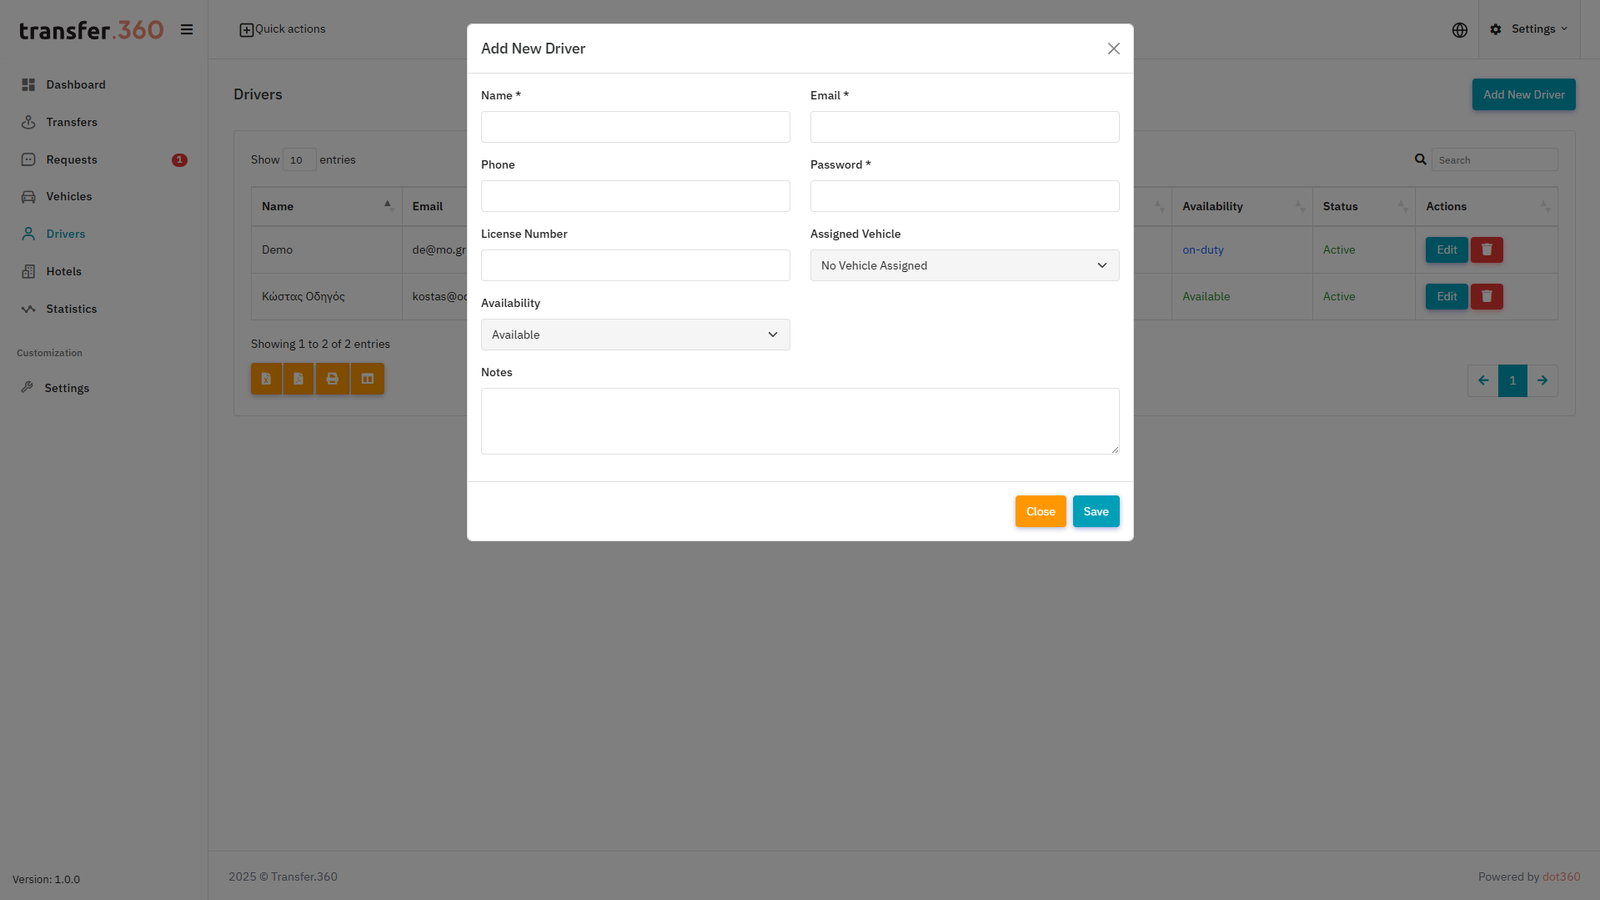
3. Add Drivers
Proceed to the 'Drivers' section. When registering a new driver, input their personal details along with a unique email address and password. These login details are essential for the driver to access the mobile application.
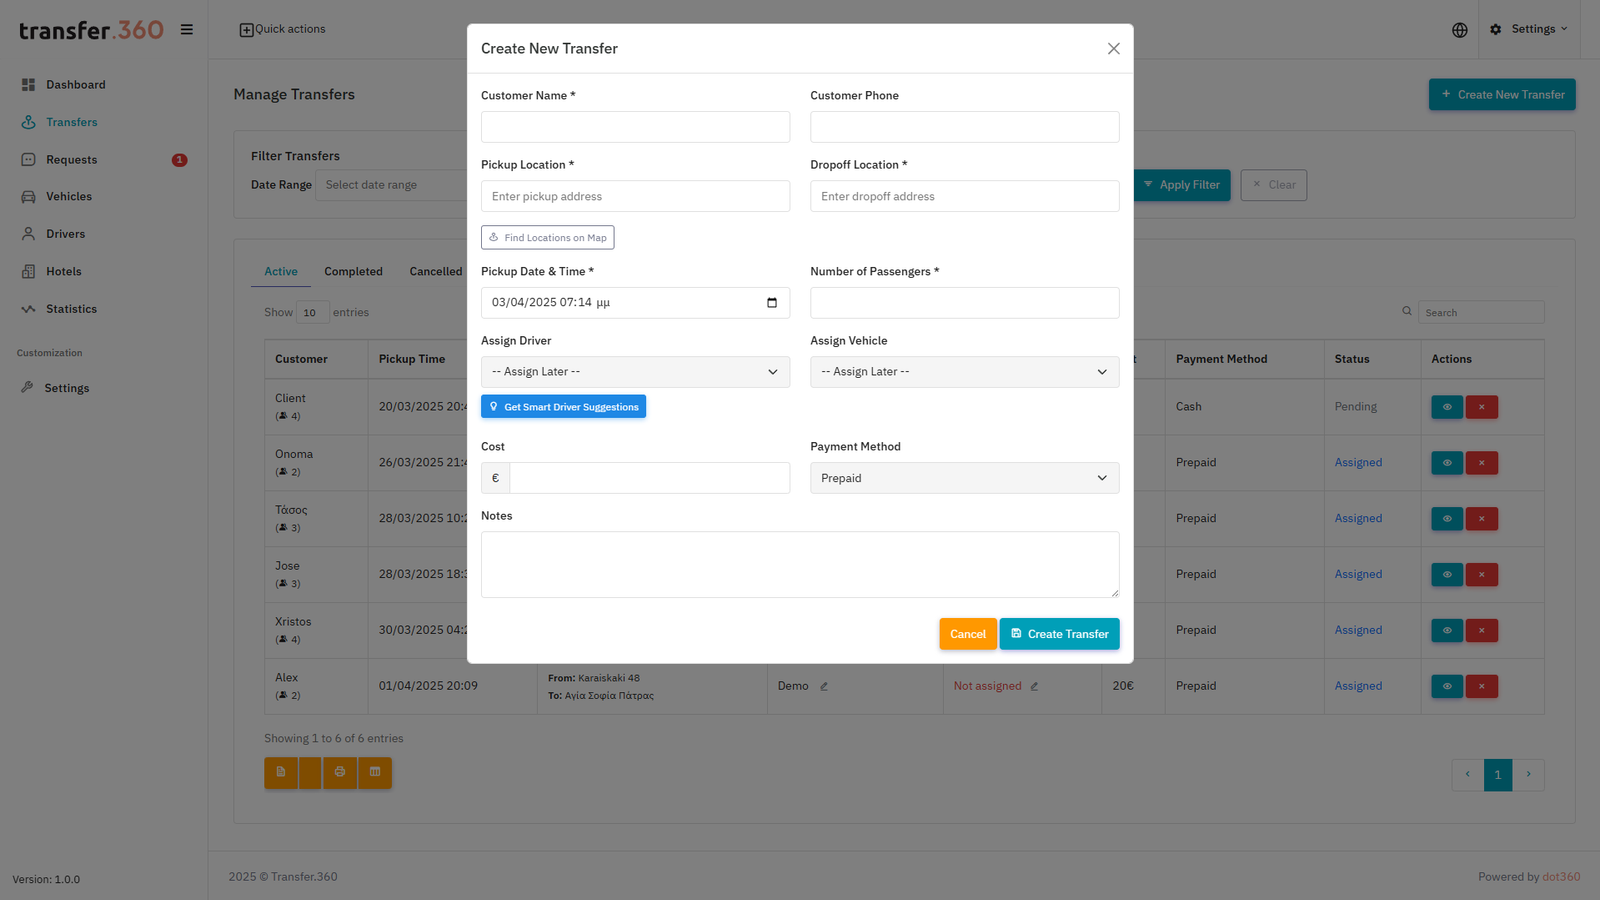
4. Create Transfers & Assign Drivers
In the 'Transfers' area, you can create new transfers. Fill in all relevant information (pickup/dropoff locations, times, passenger details). Once a transfer is saved, assign it to an available and suitable driver from your roster.
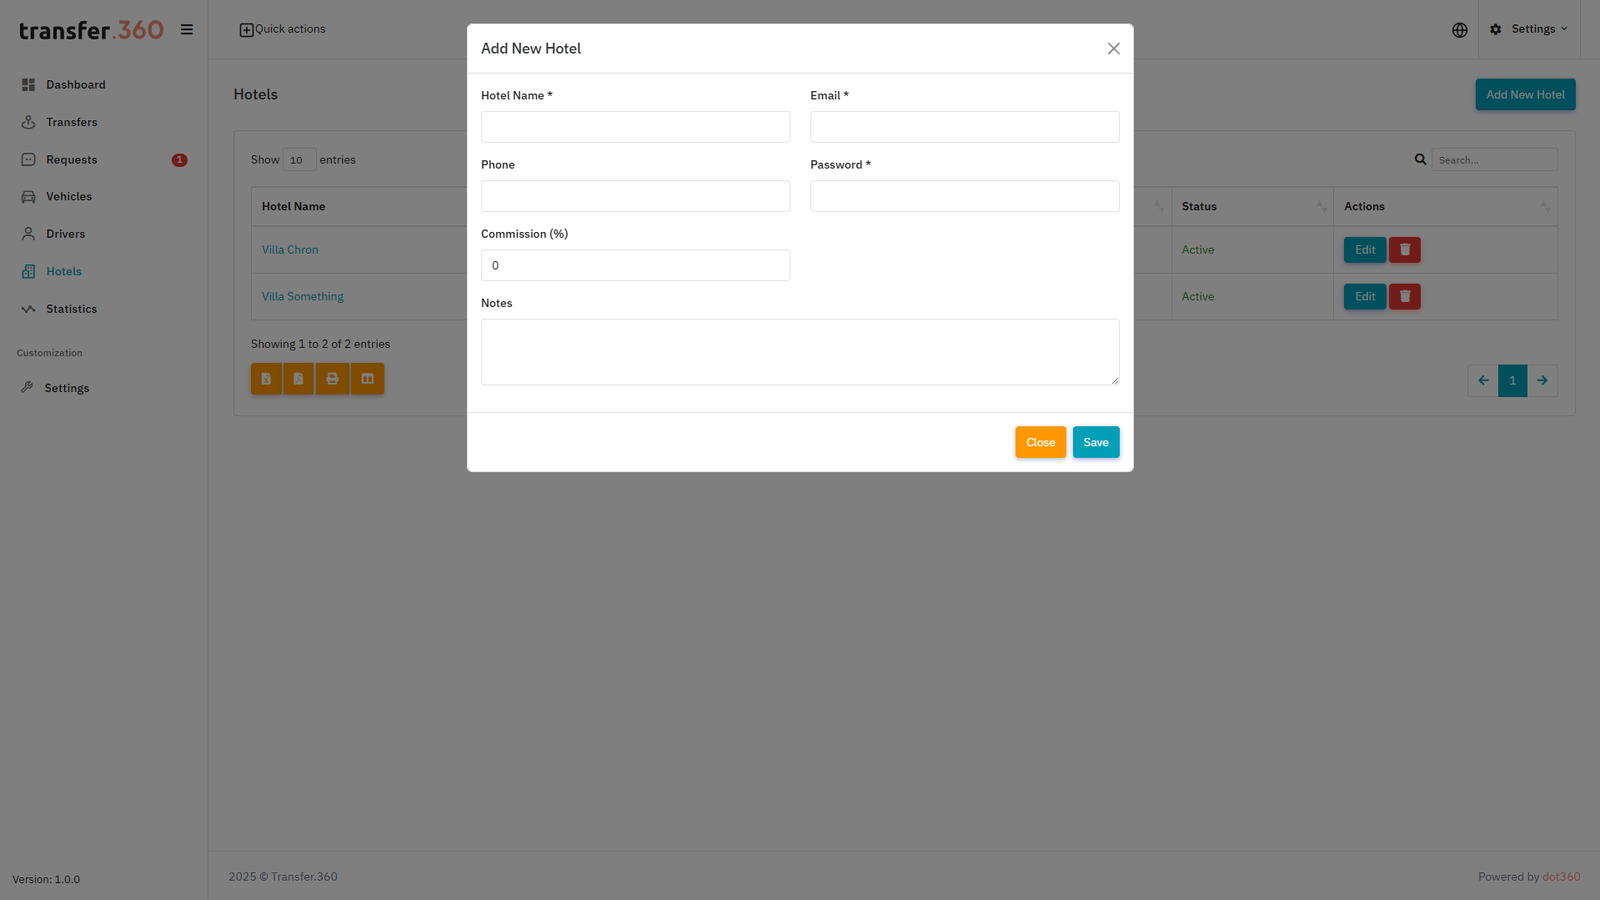
5. Optional: Hotel Portal Testing
If applicable, create a 'Hotel User' via the admin panel. To test this portal effectively, open a new Incognito or Private Browse window. This prevents session conflicts with your admin login. Log in using the newly created hotel credentials.